
Install & permissions
After install and correct permissions, global hotkeys and voice typing stay reliable. Figures below are auto-generated UI previews (HTML replicas of system/install/menu-bar UI, plus a live Releases page shot). Replace PNGs under public/screenshots/ with real captures anytime.
Requirements
Section titled “Requirements”- macOS 14 or later
- Apple Silicon or Intel
- Optional: ASR / LLM API keys (BYOK)
- Real dictation needs: Microphone + Accessibility
- Apple Speech also needs: System Settings → Privacy & Security → Speech Recognition
1. Download the installer
Section titled “1. Download the installer”-
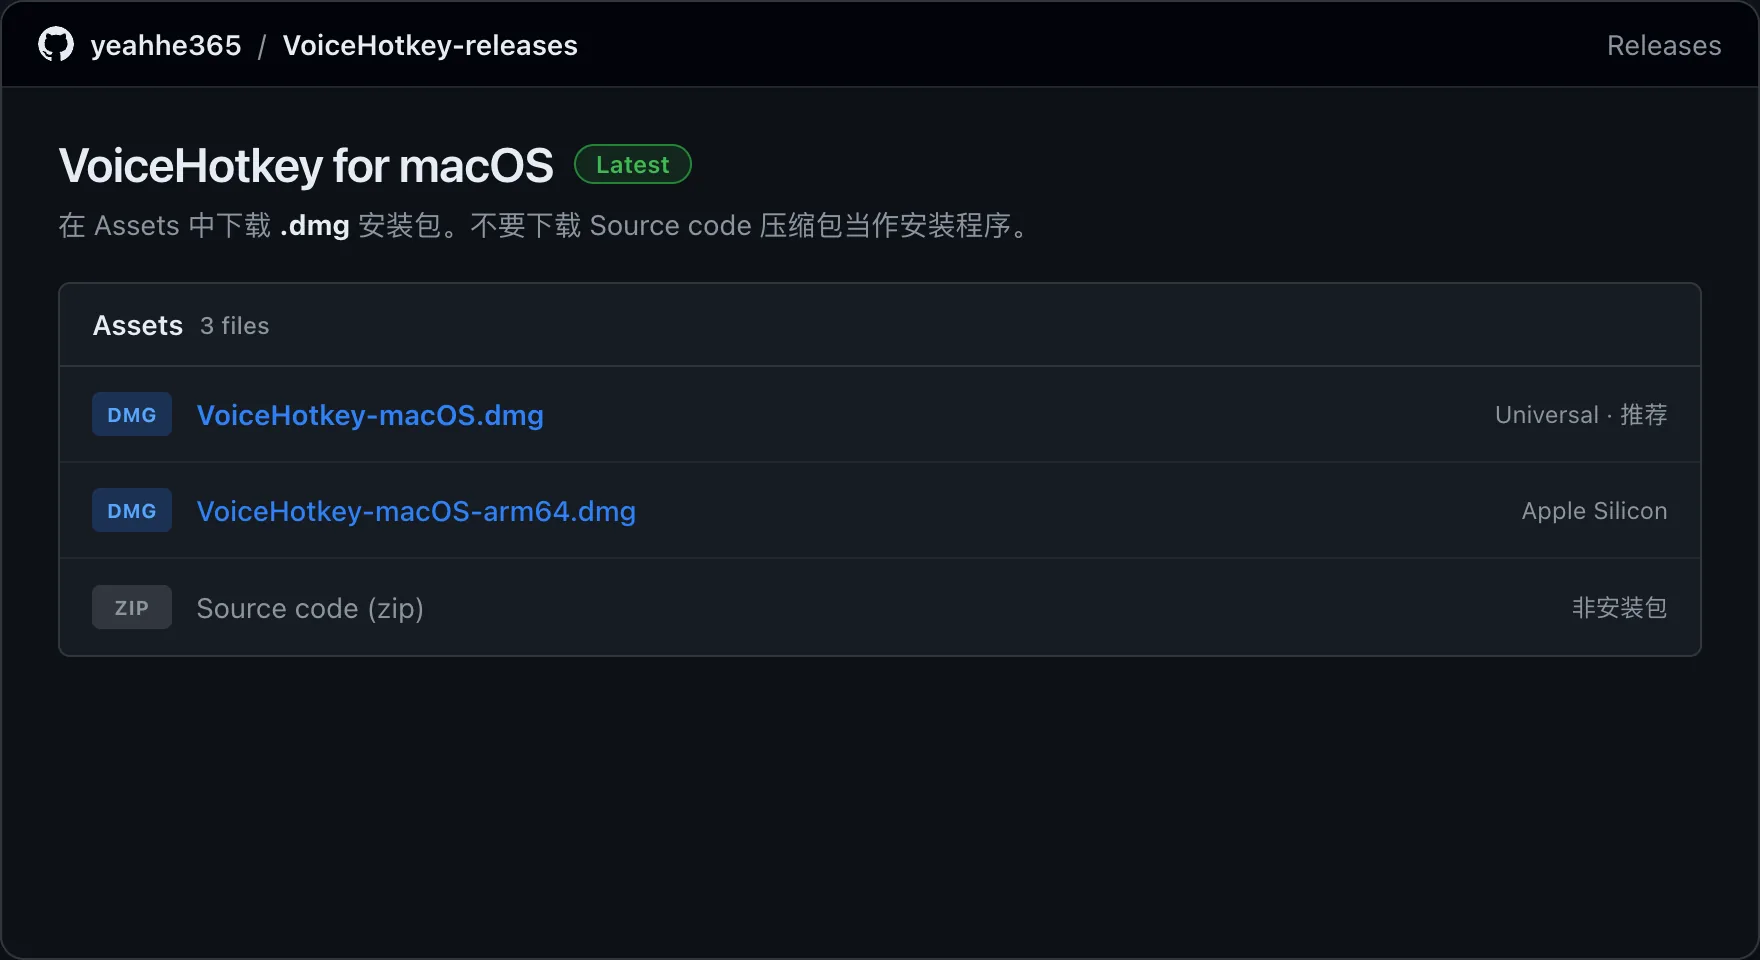
Open Releases
Go to VoiceHotkey-releases · Latest. -
Download the DMG
Pick the macOS.dmgasset. Do not use the Source code archives as the app. -
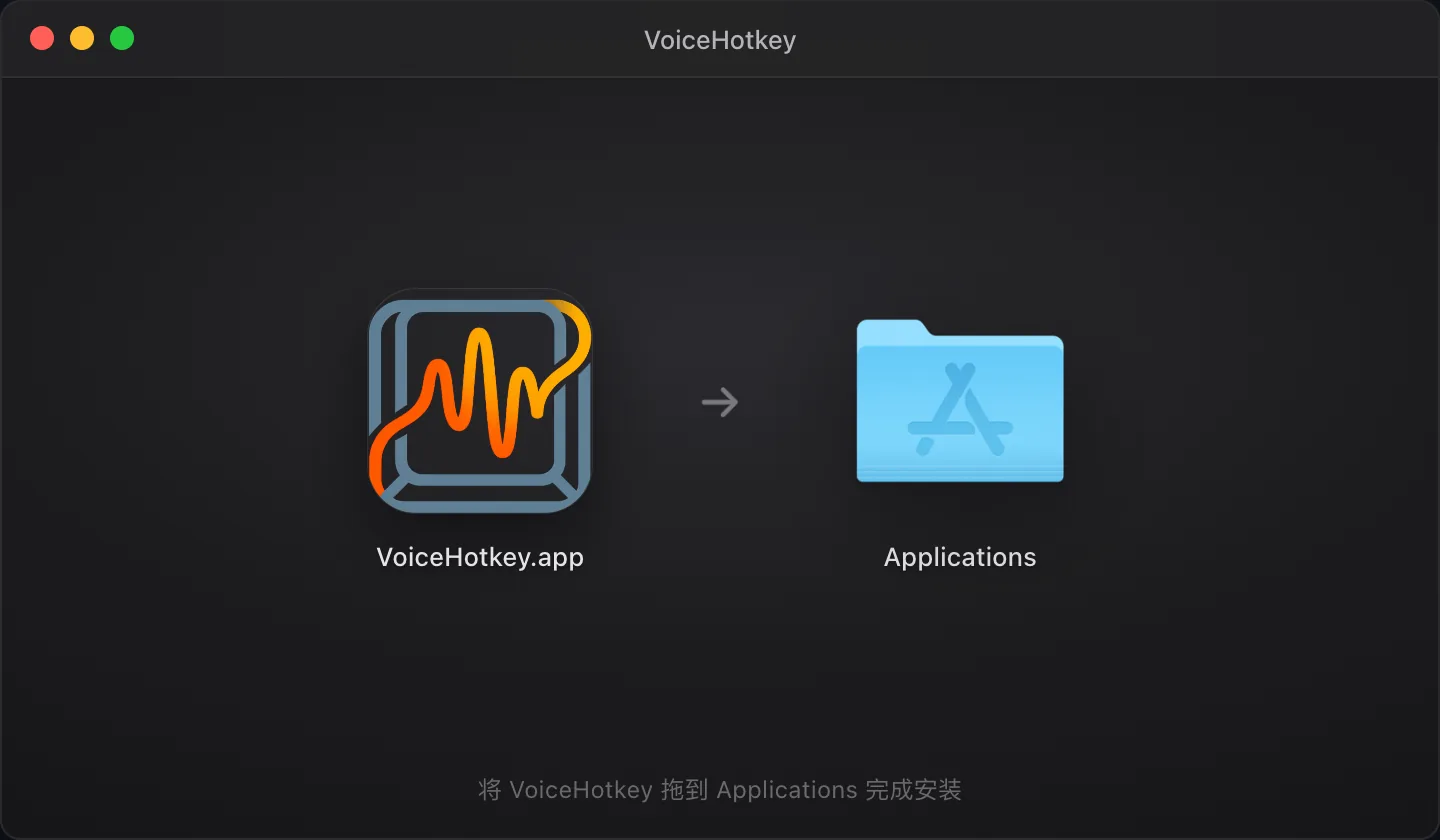
Open the disk image
Double-click the DMG and wait for the install window.
install-01-releases.webp)2. Install to a stable path
Section titled “2. Install to a stable path”-
Drag into Applications
Drag VoiceHotkey.app into Applications, or into~/Applications. -
Eject the DMG (optional)
Keep the DMG as a backup if you like. -
Remember the path
Always launch from the same location, e.g./Applications/VoiceHotkey.app- or
~/Applications/VoiceHotkey.app
install-02-dmg.webp)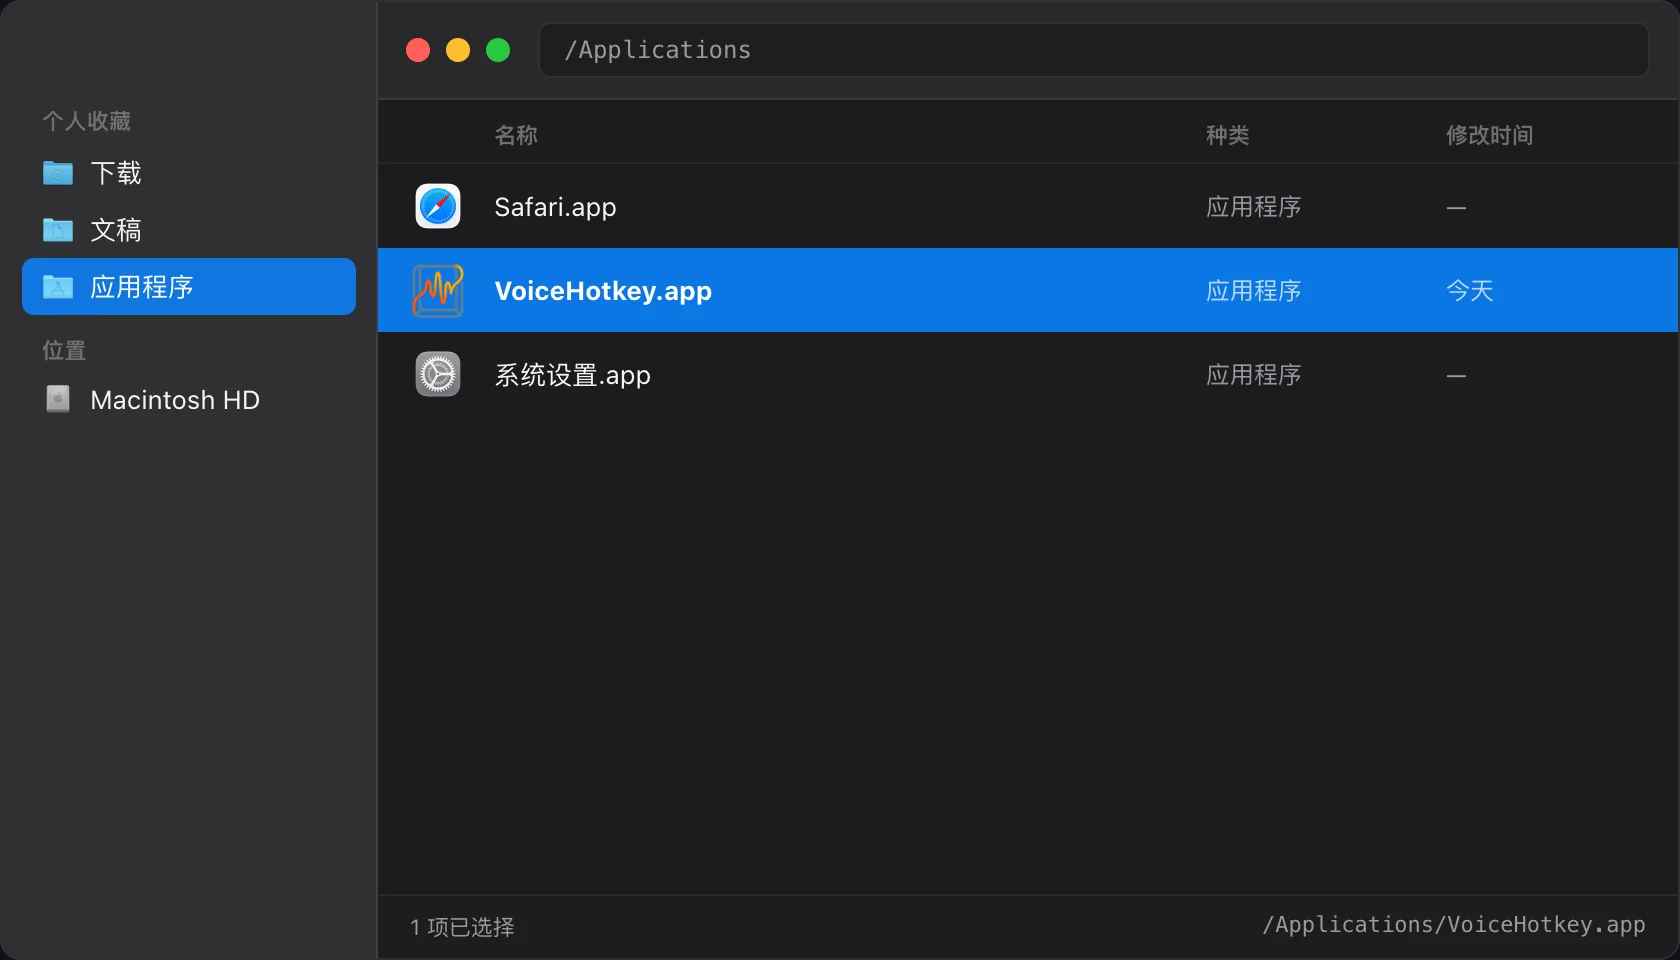
install-03-path.webp)3. First launch
Section titled “3. First launch”-
Open the app
From Launchpad or Finder. If Gatekeeper blocks it, allow it under Privacy & Security (notarized builds are smoother). -
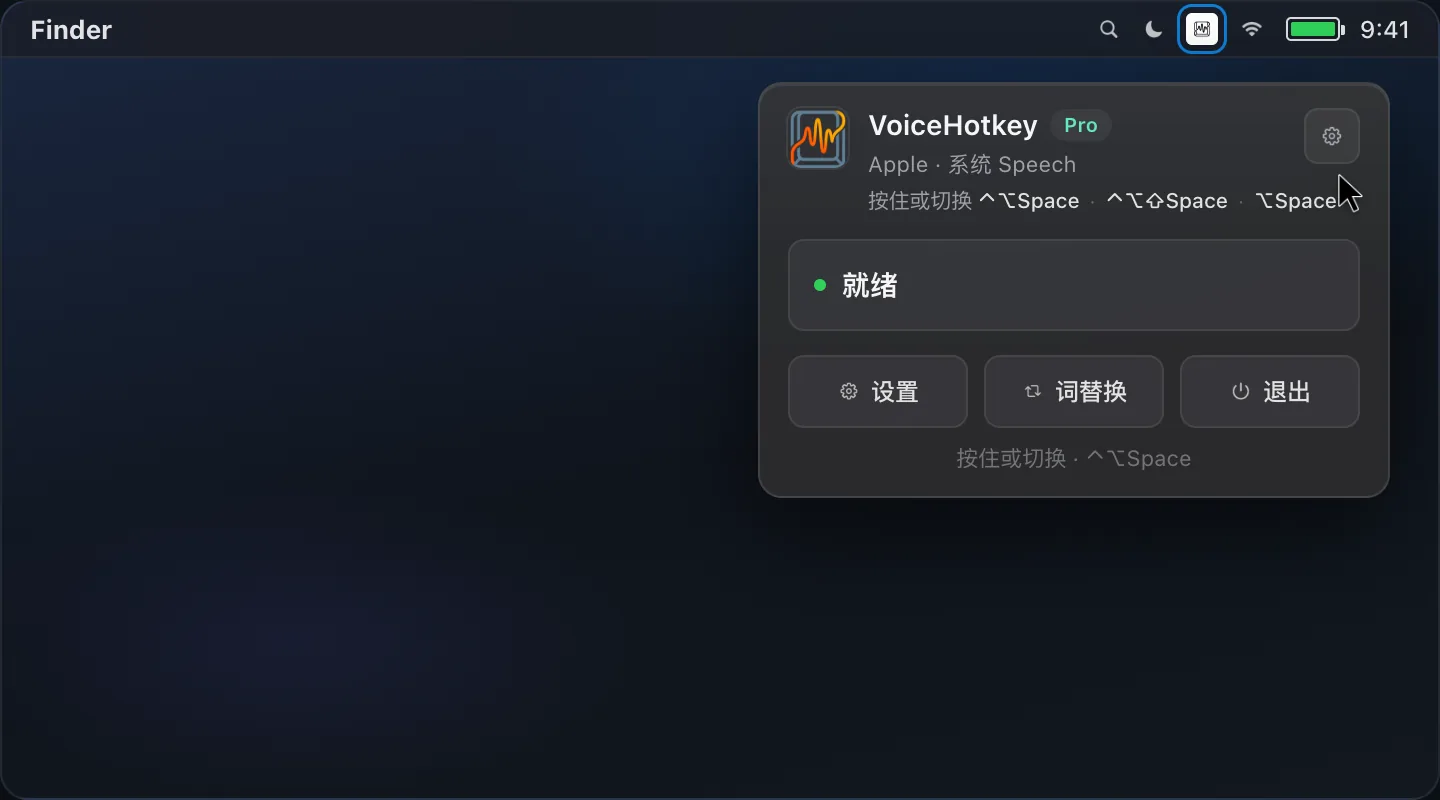
Check the menu bar
A mic-style icon should appear on the right. If missing, check menu-bar overflow or that the app is still running. -
Finish onboarding
First launch shows Quick setup (welcome → permissions → plan → done). You can grant access there or later in System Settings.
install-07-menubar.webp)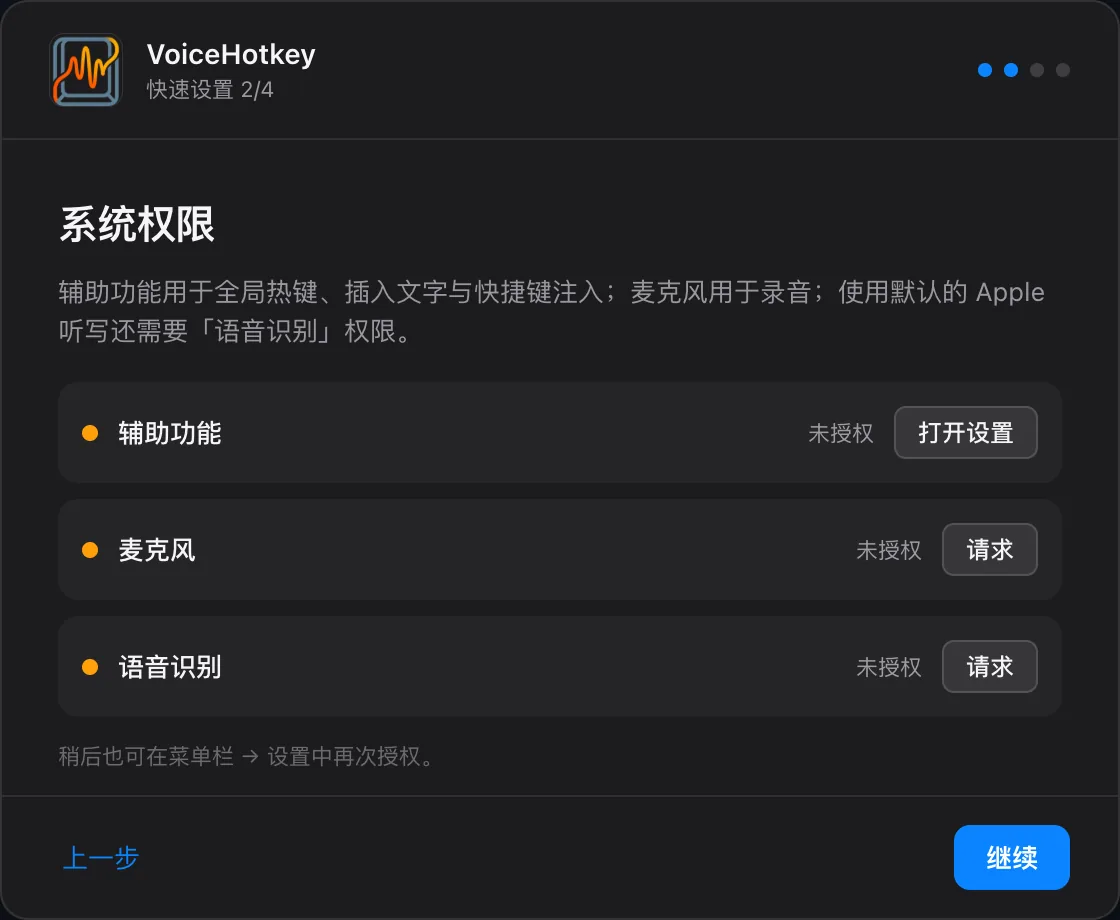
install-06-onboarding.webp)4. Grant Accessibility
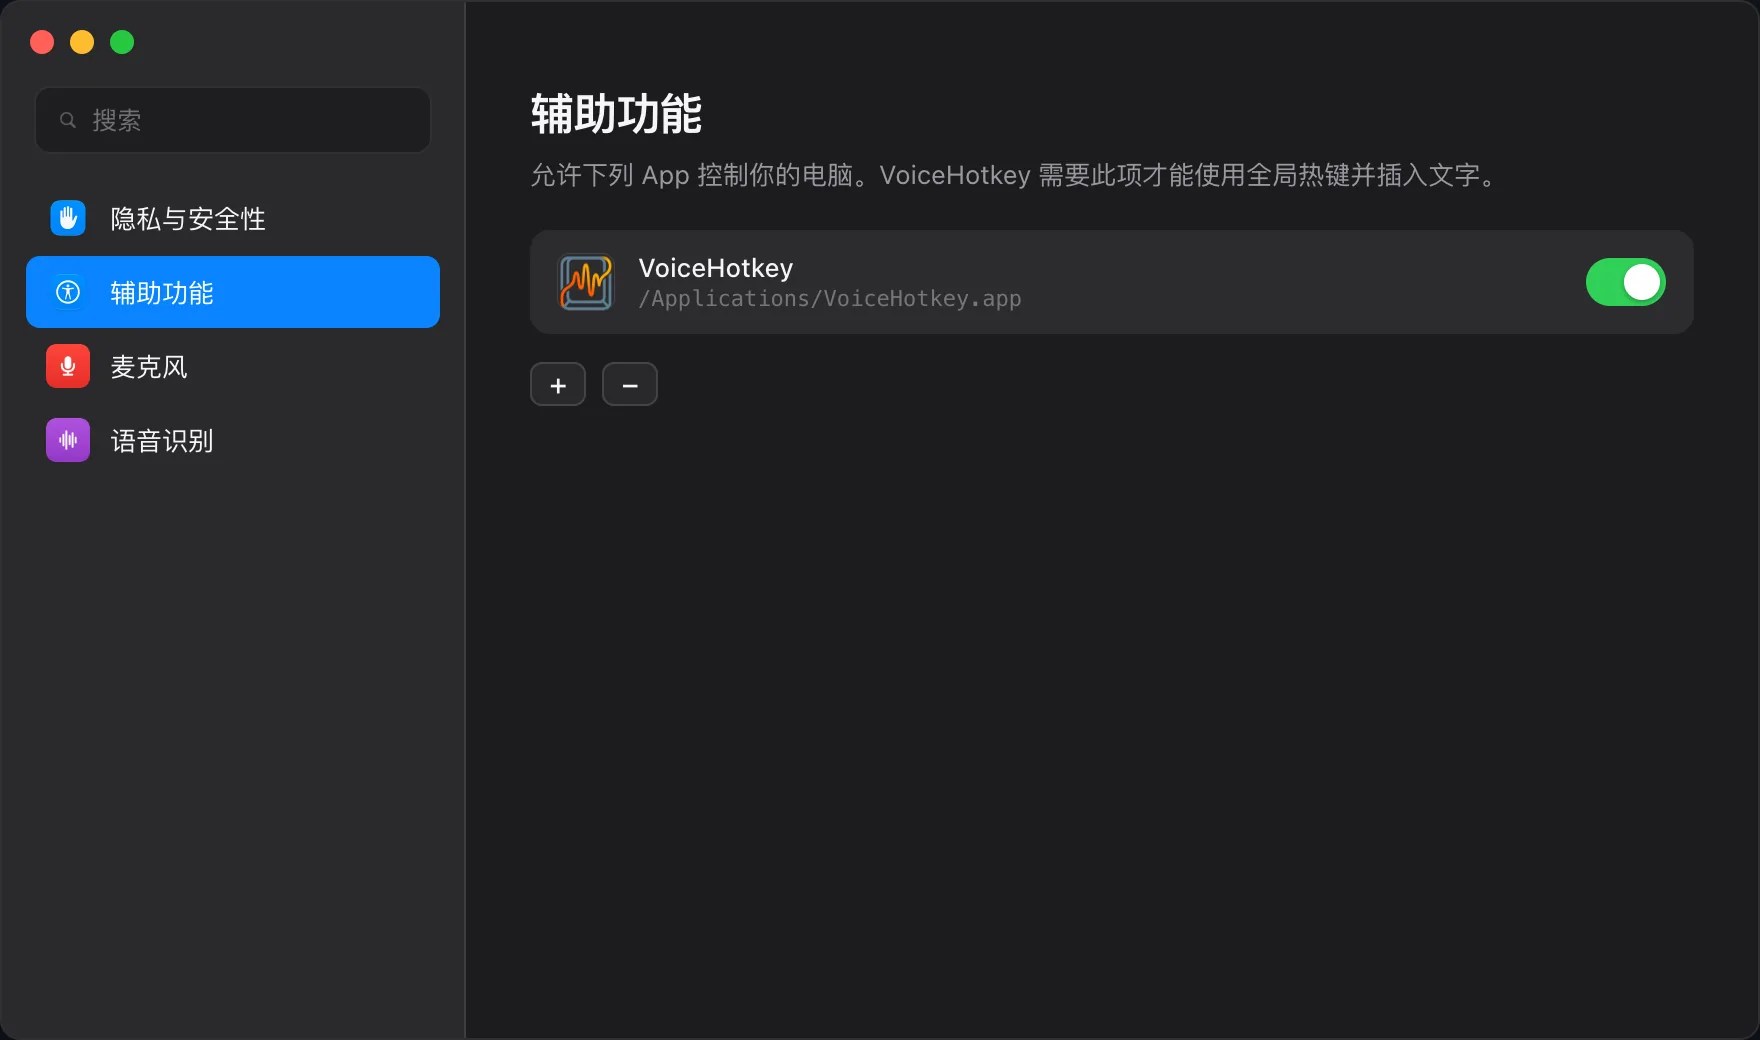
Section titled “4. Grant Accessibility”Needed for global hotkeys, inserting text at the caret, and key injection. Without it, the hotkey usually does nothing.
- Open System Settings → Privacy & Security → Accessibility.
- Click + (or unlock) and add VoiceHotkey.app.
- Confirm the path matches the app you actually run.
- Turn the switch on.
- If you see multiple “VoiceHotkey” rows: remove the old ones, keep only the current path, then quit and reopen the app.
install-04-accessibility.webp)5. Grant Microphone
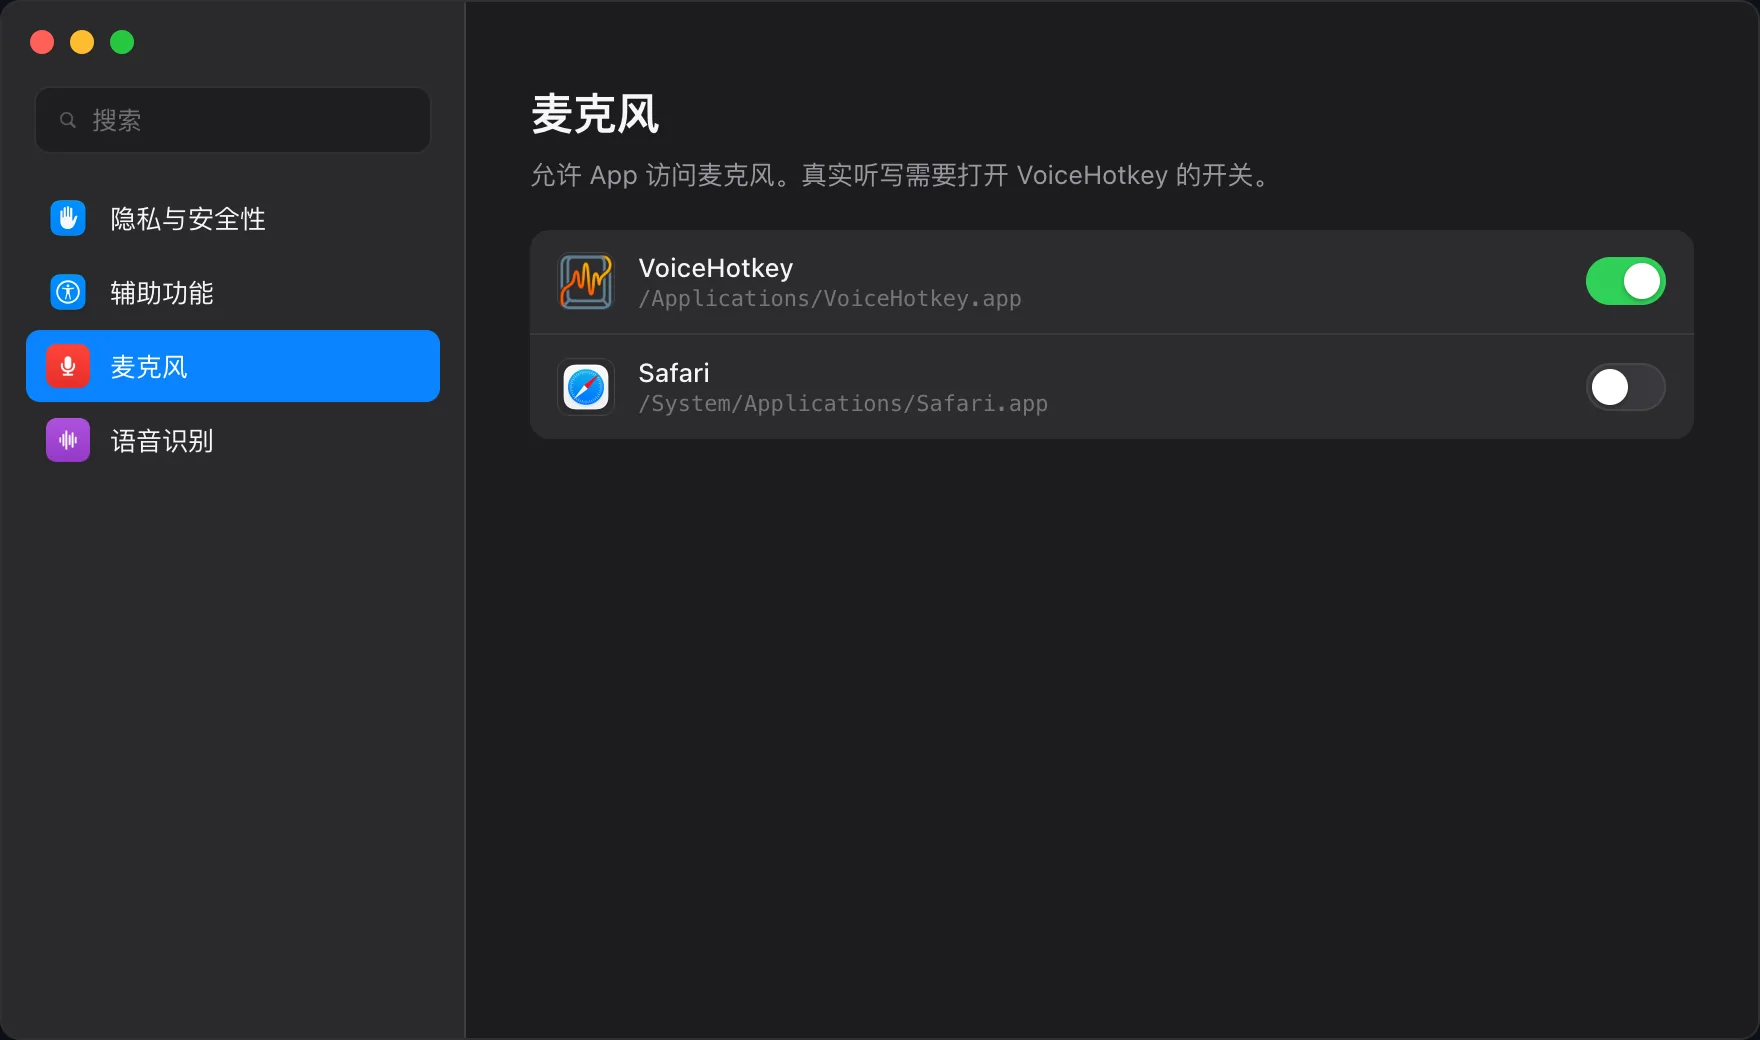
Section titled “5. Grant Microphone”Required for real dictation. Demo mode can skip the mic; production use needs this.
- Open System Settings → Privacy & Security → Microphone.
- Enable VoiceHotkey.
- Allow the system prompt on first recording if it appears.
- For external mics, check System Settings → Sound → Input. Use the same device in app General if a mic picker is shown.
install-05-microphone.webp)5b. Speech Recognition (Apple engine only)
Section titled “5b. Speech Recognition (Apple engine only)”Apple Speech / SpeechAnalyzer also needs Speech Recognition (SFSpeechRecognizer). Cloud engines (Doubao, Whisper, …) usually do not.
- Open System Settings → Privacy & Security → Speech Recognition.
- Allow VoiceHotkey.
- If a language is unavailable, download it in System Settings or switch engines.
6. Permission checklist
Section titled “6. Permission checklist”| Check | Expect |
|---|---|
| Menu bar icon | Visible, menu opens |
| Settings → General · permissions | Accessibility + mic granted; Speech Recognition if using Apple |
| Hotkey press | Overlay / status change (even in demo) |
| Install path | Matches Accessibility entry |
Still broken? See Troubleshooting.